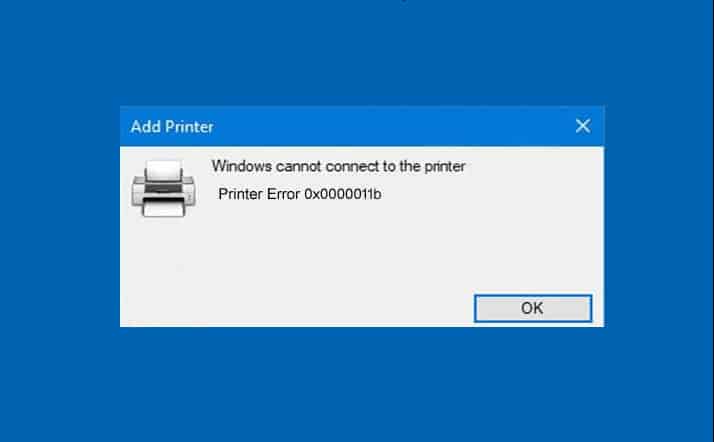
This guide will help you learn how to fix Windows Printer Error 0x0000011b? First, you need to follow the steps. Printing documents on Windows 10 or Windows 11 should be simple. Next, you must open your document and click Print or use the Ctrl and P keys. Unfortunately, error number 0x0000011b may sometimes derail your plans by prohibiting you from connecting to your printer.
Fix Windows Cannot Connect to Printer Error 11b
This post will explain how to fix Windows Printer Error 0x0000011b in easy steps.
Uninstall Recent Windows Updates
If you began getting error number 0x0000011b after applying the latest Windows updates, uninstall them and see if it helps. For example, Uninstalling KB5005565 and KB5005568 addressed the issue for many Windows 11 users. To uninstall recent Windows updates and fix Printer Error 0x0000011b follow the steps below.
1. Open the Control Panel.
2. Select Uninstall a program.
3. Then click View installed updates.
4. Select the most recent updates and press the Uninstall option.
You may also use Command Prompt to uninstall previously installed Windows updates.
1. Select the Search icon.
2. In the search area, type cmd.
3. Run as Administrator from the context menu when you right-click on Command Prompt.
4. Finally, run the wusa /uninstall /kb: command. After the colon, enter the KB number.
For example, to uninstall KB5004567, use the command line wusa /uninstall /kb:KB5004567.
After deleting the updates, check whether your computer can still connect to your printer. Install your printer using its IP address if error 0x0000011b continues.
You may also wish to disable auto-updates temporarily. When you restart your computer, Windows will download and install the newest updates, causing error 0x0000011b to occur again.
Add the Printer Manually Using Its IP Address
1. Navigate to Settings.
2. Choose Bluetooth and Devices.
3. Navigate to Printers and Scanners.
4. Then, to add a printer or scanner, click the Add device option.
5. Select the link indicating that the printer you wish to add is not in the list.
6. Select Use a TCP/IP address or a hostname to add a printer.
7. Follow the on-screen instructions and manually enter the printer’s IP address.
8. Click Next to connect your computer to your printer.
9. Print a test sheet to check that your printer is functioning correctly.
Disable RPC Print Spooler Encryption
Microsoft recommends disabling the print spooler privacy settings on both the Client and the Print Server to resolve error number 0x0000011b. Windows automatically encrypts RPC connection with network printers and print servers when the RpcAuthnLevelPrivacyEnabled Registry value is set to 1. To get rid of error code 0x0000011b, disable this option.
1. Open the Registry Editor program.
2. Open HKEY_LOCAL_MACHINE\System\CurrentControlSet\Control\Print.
3. Select New DWORD-32 bit Value from the context menu when you right-click on the Print key.
4. Give the new key the name RpcAuthnLevelPrivacyEnabled.
5. Set the new key’s value to 0 by double-clicking it.
6. Restart your computer and check that it is connected to your printer.
Uninstall any recently installed updates, particularly KBKB5005565 and KB5005568, to fix error 0x0000011b while printing on Windows 11. Then, manually add the printer using its IP address. Finally, disable Print Spooler RPC encryption if the error continues. Did you able to resolve the issue? Which of these strategies was practical for you? Let us know in the comments, and please share this tutorial on social media.

